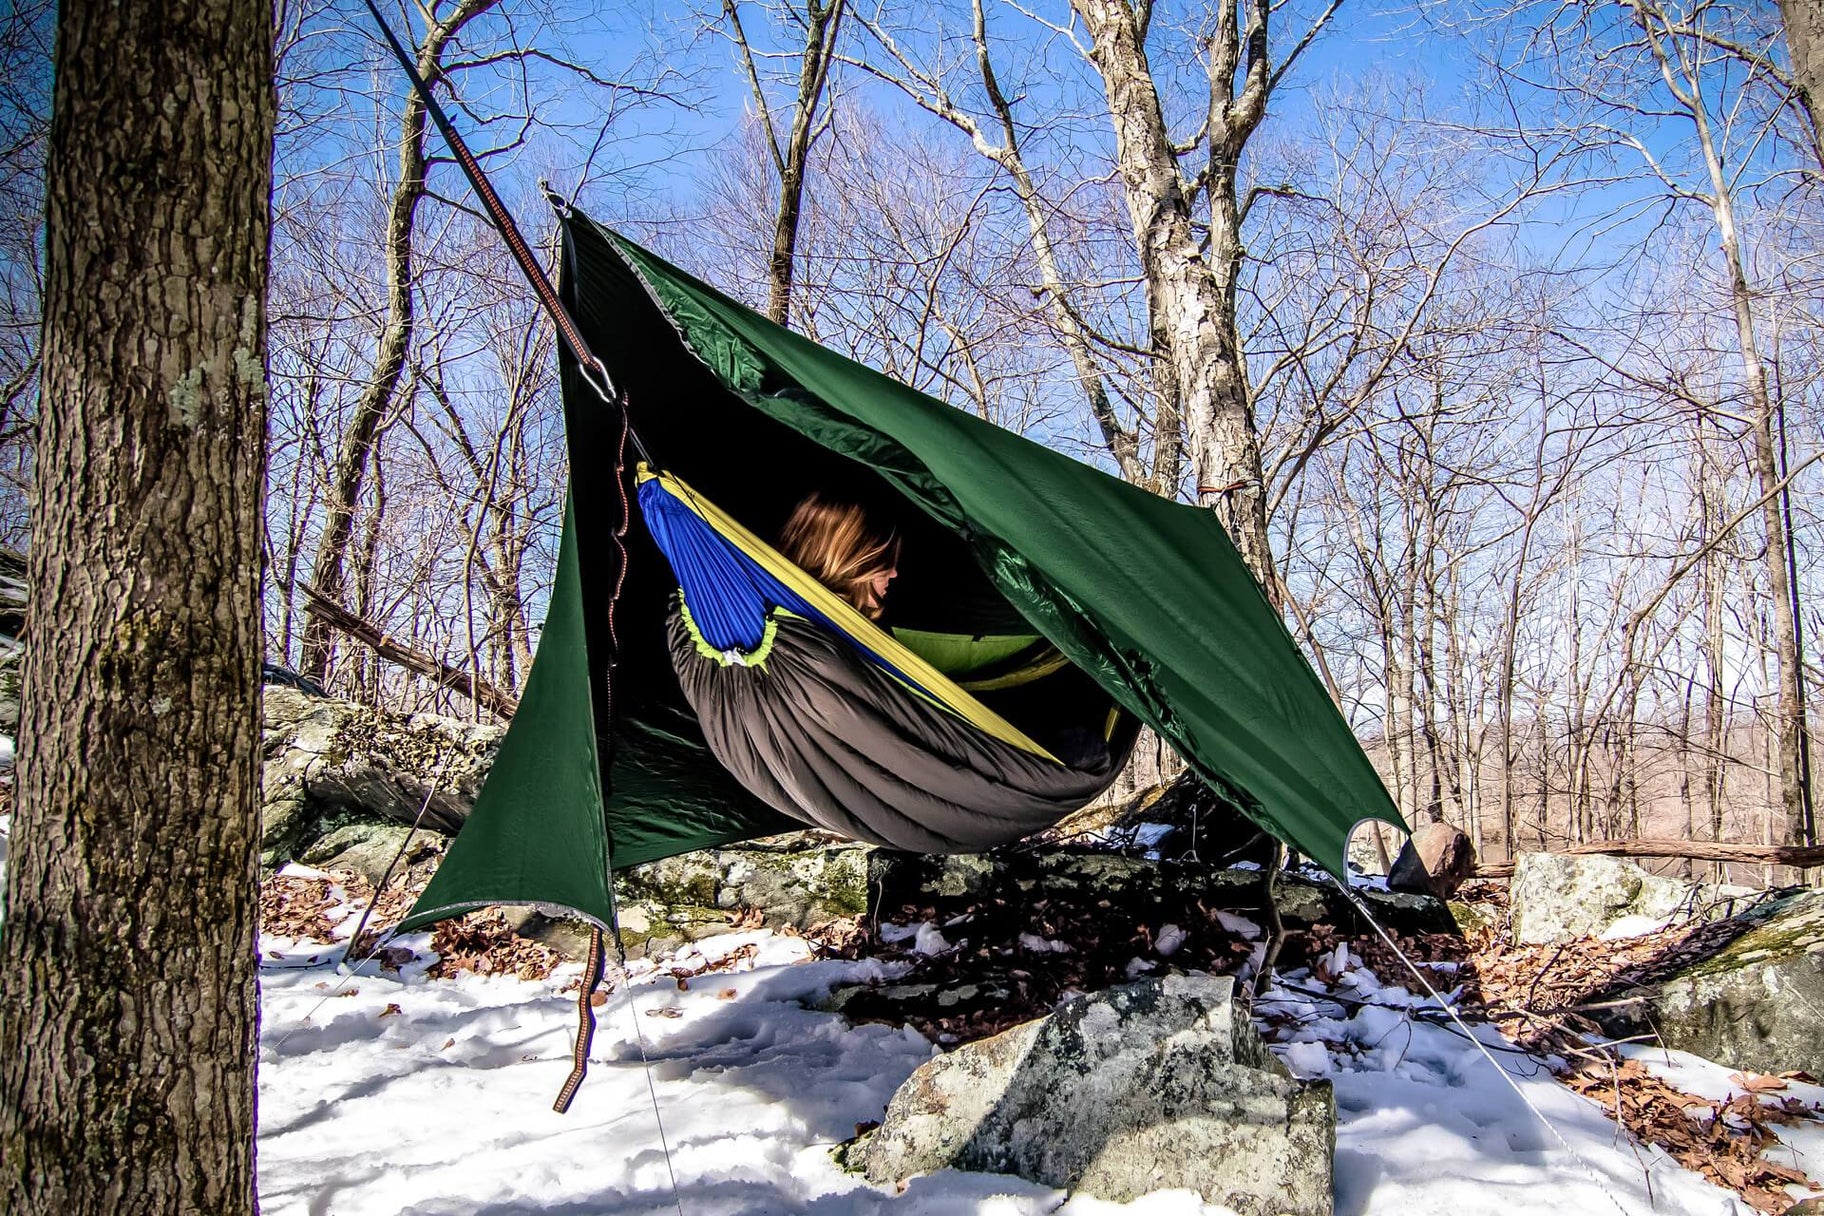
When it comes to outdoor adventures, having a tarp is an invaluable tool for creating shelter, protecting your gear, and staying dry during unpredictable weather conditions. However, knowing how to properly secure and manipulate your tarp is just as important as having one. In this blog post, we’ll explore three essential tarp knots that every adventurer should learn. These knots will provide you with the confidence and versatility to set up a reliable tarp shelter in various outdoor situations. Tarp and camping ropes are currently available on our store.

- The Taut-Line Hitch: The Taut-Line Hitch is a versatile knot that is perfect for adjusting the tension of your tarp lines. It’s commonly used to secure the corners of a tarp to trees or stakes.
Here’s how to tie it:
Step 1: Pass the working end of the rope around the anchor point (tree or stake), making an initial loop. Step 2: Cross the working end over the standing part of the rope. Step 3: Wrap the working end around the standing part three times, moving away from the anchor point. Step 4: Pass the working end through the initial loop you created in Step 1. Step 5: Tighten the knot by sliding the hitch up or down the standing part of the rope, adjusting the tension of your tarp line.
The Taut-Line Hitch is an adjustable knot, allowing you to easily tighten or loosen your tarp lines in response to changing weather conditions. It’s a reliable choice for ensuring a taut and secure shelter.

- The Bowline Knot: The Bowline Knot is a classic knot known for its strength and simplicity. It’s ideal for creating a fixed loop in your tarp line, enabling you to attach it to anchor points securely.
Here’s how to tie it:
Step 1: Create a small loop in the working end of the rope, ensuring that the end is on top of the standing part. Step 2: Pass the working end up through the loop. Step 3: Bring the working end around the back of the standing part. Step 4: Pass the working end back down through the loop. Step 5: Tighten the knot by pulling the working end and standing part in opposite directions.
The Bowline Knot forms a secure loop that will hold your tarp line firmly in place. It’s an essential knot for tying off your tarp to fixed objects like stakes, trees, or rocks. A good Bowling rope is available on store.

- The Prusik Knot: The Prusik Knot is a valuable knot for creating an adjustable attachment point on your tarp line. It’s commonly used for adding guy lines or creating ridgelines.
Here’s how to tie it:
Step 1: Take a separate cord or smaller diameter rope and wrap it around the tarp line, forming two loops parallel to each other. Step 2: Pass the working end of the cord through the loops. Step 3: Pull the working end of the cord tight while sliding the loops along the tarp line. Step 4: To adjust the Prusik Knot, loosen the tension, slide it along the tarp line, and then tighten it again.
The Prusik Knot allows you to create adjustable anchor points on your tarp line, making it easy to customize the setup of your tarp shelter. It’s a reliable knot for adding additional support and tension to your tarp system.
Mastering these three essential tarp knots will significantly enhance your outdoor experience. Whether you’re setting up a shelter, creating additional attachment points, or adjusting tension, the Taut-Line Hitch, Bowline Knot, and Prusik Knot will serve you well in various outdoor scenarios. Practice tying these knots before your next adventure, and you’ll have the confidence and skills needed to create a secure and reliable tarp shelter wherever your explorations take you. You can visit our store to purchase different quality ropes.